
Appearance
Channels
A channel connects a customer-facing account, number, mailbox, or website to Weavey. Messages from that connection appear in its own inbox under Conversations or Emails.
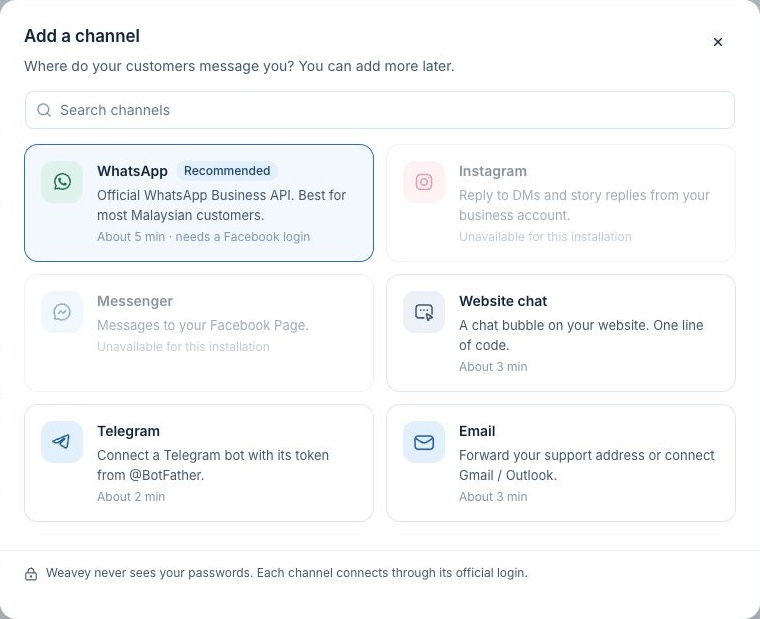
Add a channel
- As a workspace administrator, open Channels and select Add a channel.
- Choose a channel and complete the setup with the provider account you want to connect.
- Give the channel a name your team can recognize, such as “Website Support” or “Orders WhatsApp.”
- Give the right people or teams access. Set up a workflow if new conversations should automatically be assigned to a person, team, or AI agent.
- Send an inbound test from a separate customer account. Open the conversation in Weavey, reply, and verify that the reply arrives.
Agents and supervisors can open Overview for channels they can access. Workspace administrators manage channel configuration. The channel picker shows the options available to your workspace.
Choose a setup guide
- WhatsApp for business messaging.
- WhatsApp calling to handle calls on an eligible WhatsApp number.
- Email for support mailboxes and replies.
- Website chat for a live chat widget.
- Other channels for Messenger, Instagram, Telegram, LINE, TikTok, and SMS.
- Channel access and routing to choose who can see a channel and how chats are assigned.
Check whether a channel is working
In Channels, open the channel and look at Overview. Check the last inbound message and delivery activity. If Weavey reports lost access or disconnection, a workspace administrator can use the available reconnect option and test the channel again. If a new website widget has no activity, load the site and send a test message from the widget.